In home landscapes, we’ll come across a wide variety of growing conditions. There are the obvious ones, like how much sun the yard gets, or what your growing zone is indicated to be. But there are the less obvious conditions that can be specific to a certain area, or even a certain home. These situations can be equally significant to the life and longevity of our growing aspirations. When dealing with such challenges, learning how to improve rocky soil can make all the difference in creating a healthy, thriving garden.
The condition, quality and consistency of soil can be make or break. Soil type, pH and topography can all be areas of concern, especially if you are worried about rocky ground. I understand this only too well, because a few years ago, I bought a rock farm. This farm is in wheat country, known for its verdant waving grain and golden hillsides. But my property was a challenge in more ways than one.
Here’s how I’ve tackled the issue of growing in rocky soil – the steps I took, how to reinvigorate the soil, plants you can try, and how you can transform even tough ground conditions into something lush and wonderful…
1. Invest in the Earth
(Image credit: Brocreative / Shutterstock)
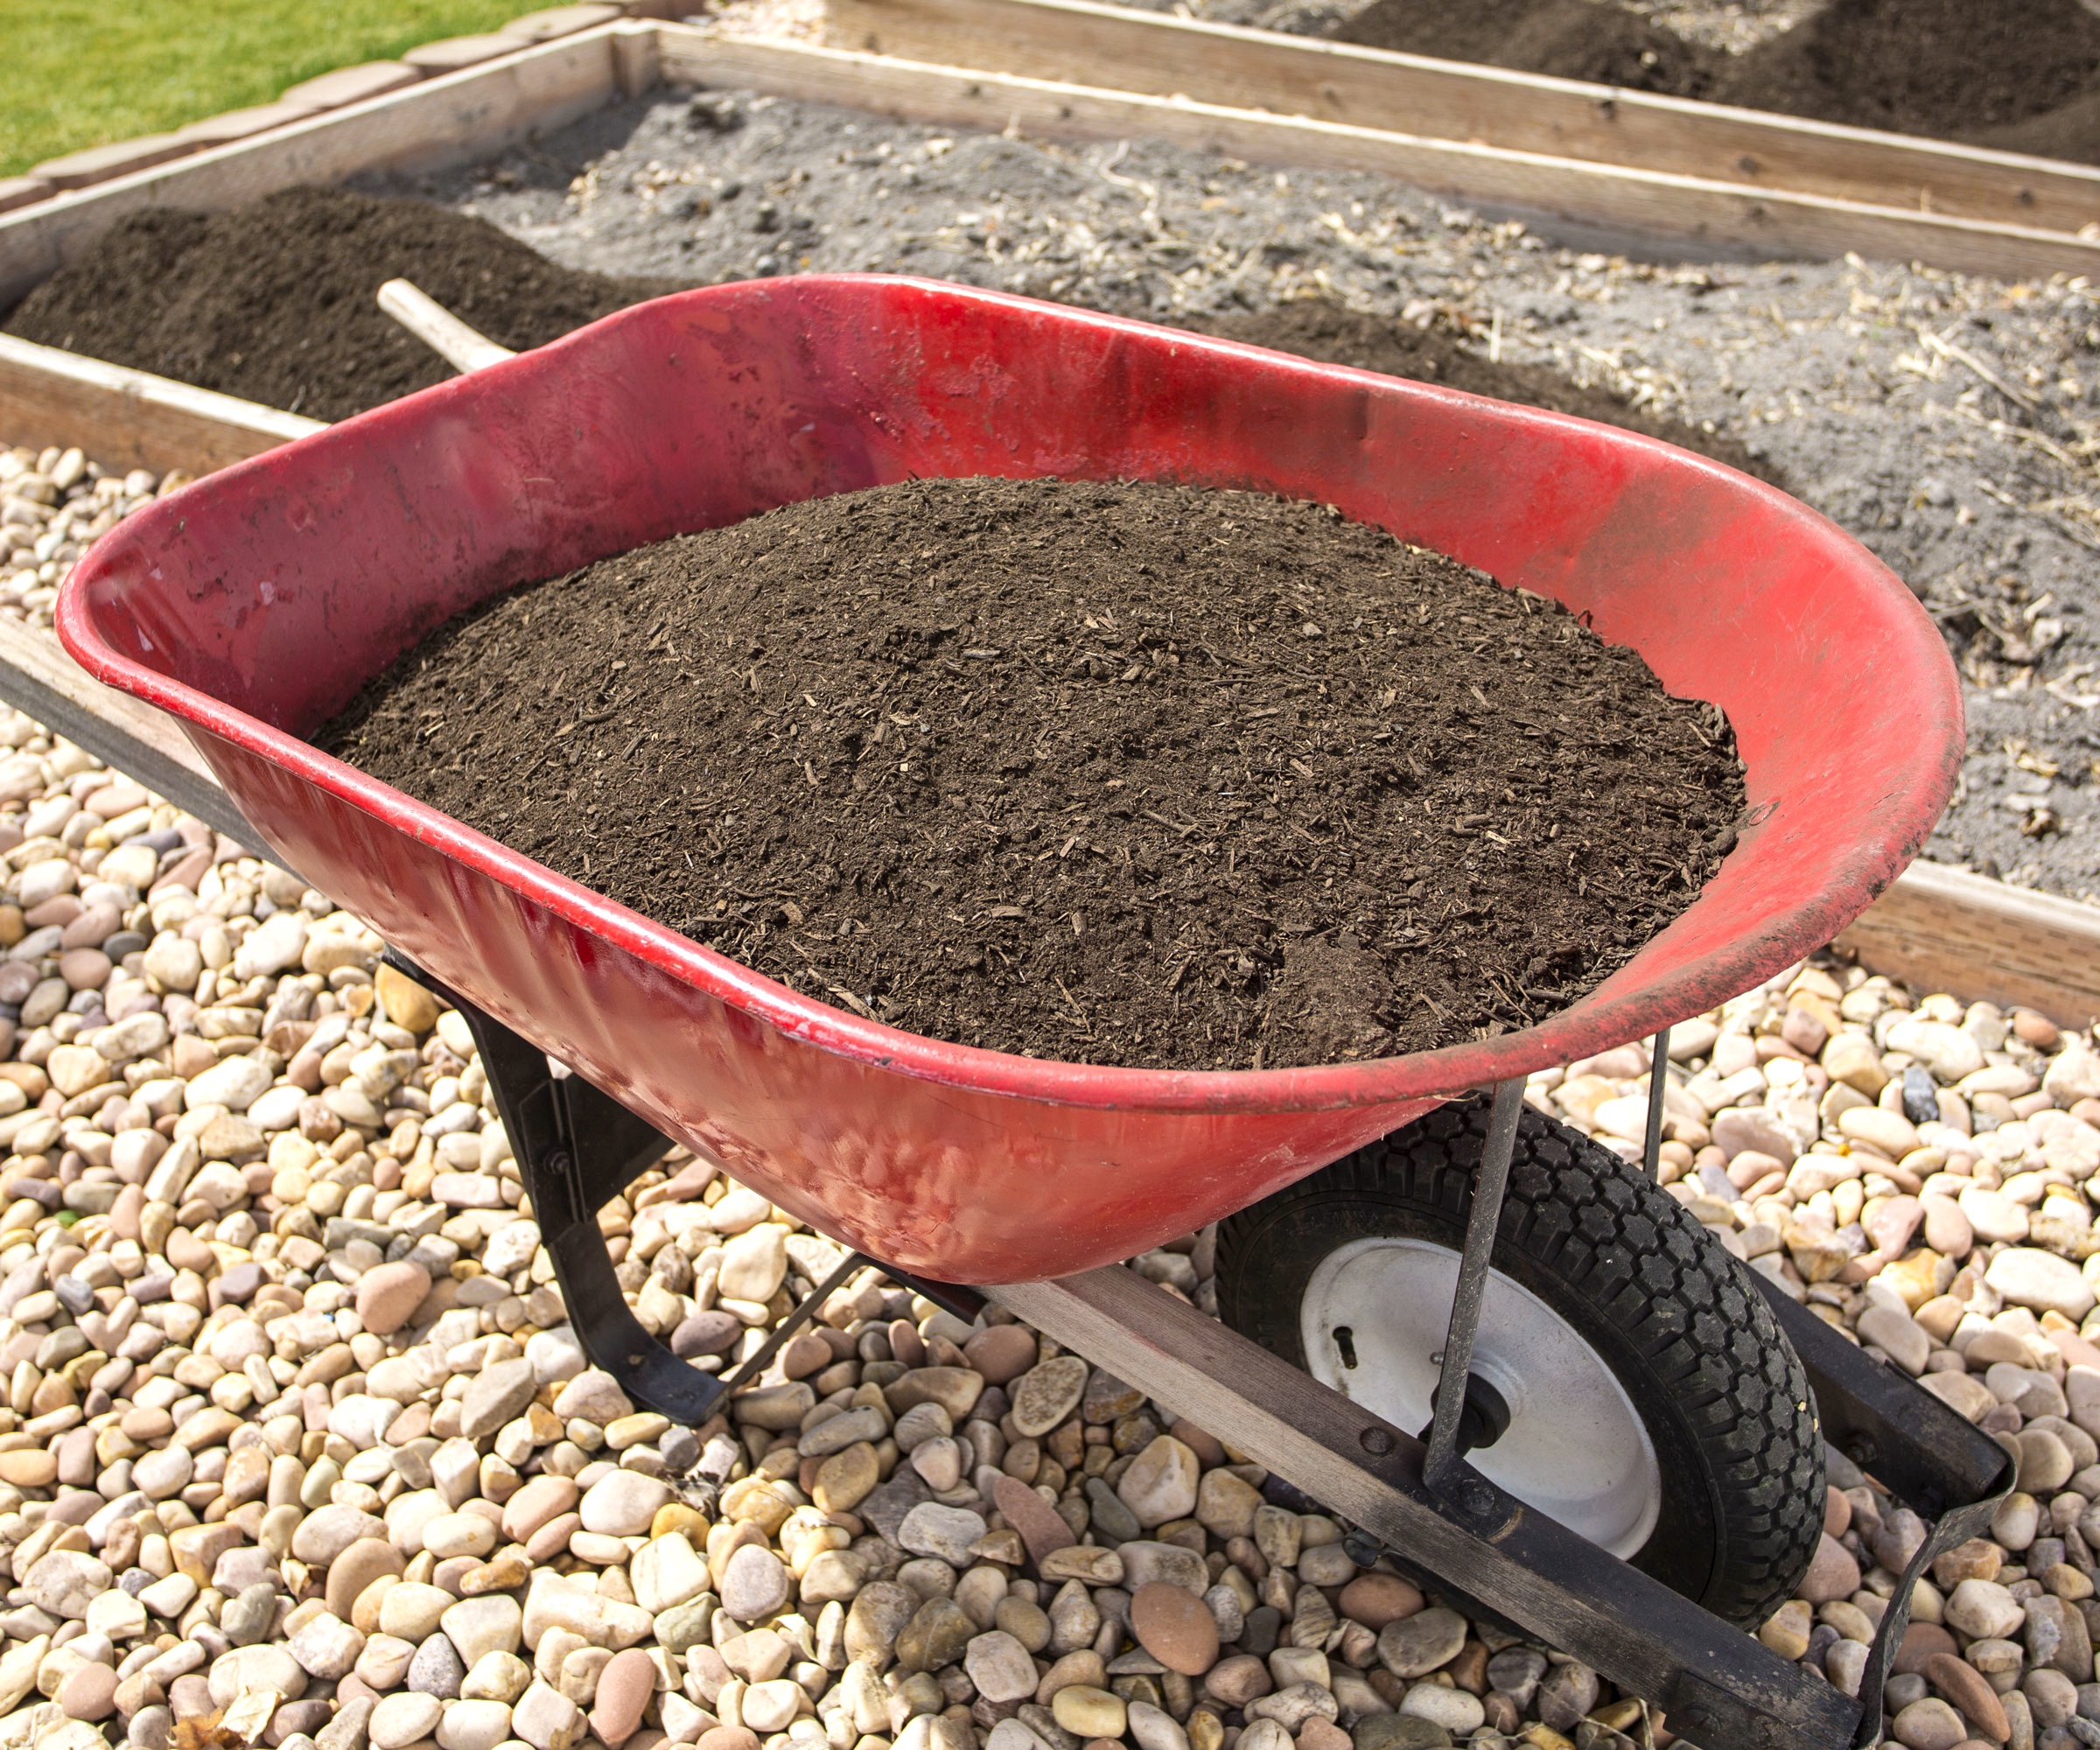
The previous owners installed rock on every square inch of the garden. I suppose they weren’t gardeners and didn’t want a lawn. I don’t miss the lawn, with its constant need for maintenance and water, but I don’t want to grow rocks! So before even thinking about planting in rocky soil, the first challenge was to find better material for growing, and better garden soil. To do this, I hauled tons of rocks with my little wheelbarrow.
Approach this sensibly and use a strong wheelbarrow that’s up to the task, as there may be some very chunky rocks to remove and relocate. Go for something heavy duty but easy to use, like the highly rated Best Choice Dual-Wheel Home Utility Yard Wheelbarrow from Amazon. You also need a good shovel and spade to extricate and work the lumpier ground. Go for something durable and comfortable to use for extended periods, like the Expert Gardener Fiberglass D-Handle Garden Spade from Walmart.
I had to dig at least 6 inches (15cm) down, and remove that much rock. I gave away rocks, I hid rocks, and I made rock borders. Luckily, I finally found dirt – and it’s the good stuff. Digging quite far in with it, I reached a thick layer of Mt St. Helen’s ash. I know from previous experience that my veggie plants love this stuff mixed into the soil. If you’d like to add some, try Down to Earth’s Azomite Volcanic Ash from Amazon. It’s always a good idea to assess the condition of your soil. If in doubt about your soil pH, test the soil with a soil meter like the Raintrip 4-in-1 Meter from Amazon, which tests for soil pH, nutrient loads and moisture levels.
2. Manage Weeds and Ground Covers
(Image credit: Flower_Garden / Shutterstock)
So once the condition of the earth is in hand, then what? We experience deep freezes in winter and harsh winds in summer, and it’s the wide world of weeds out here. The rocks I kept in situ can trap weed seeds which can somehow sprout and grow in rocks. So I knew that what I needed urgently was to remove the weeds and add some effective ground cover.
Top of the list was to get the weeds under control, which I grudgingly did with herbicide. I hate using herbicide and I swear I will never use it again, but I was desperate. For an organic approach that can target weed roots quickly while being safe to pets and pollinators, try Earth’s Ally Weed Killer Herbicide Spray from Amazon.
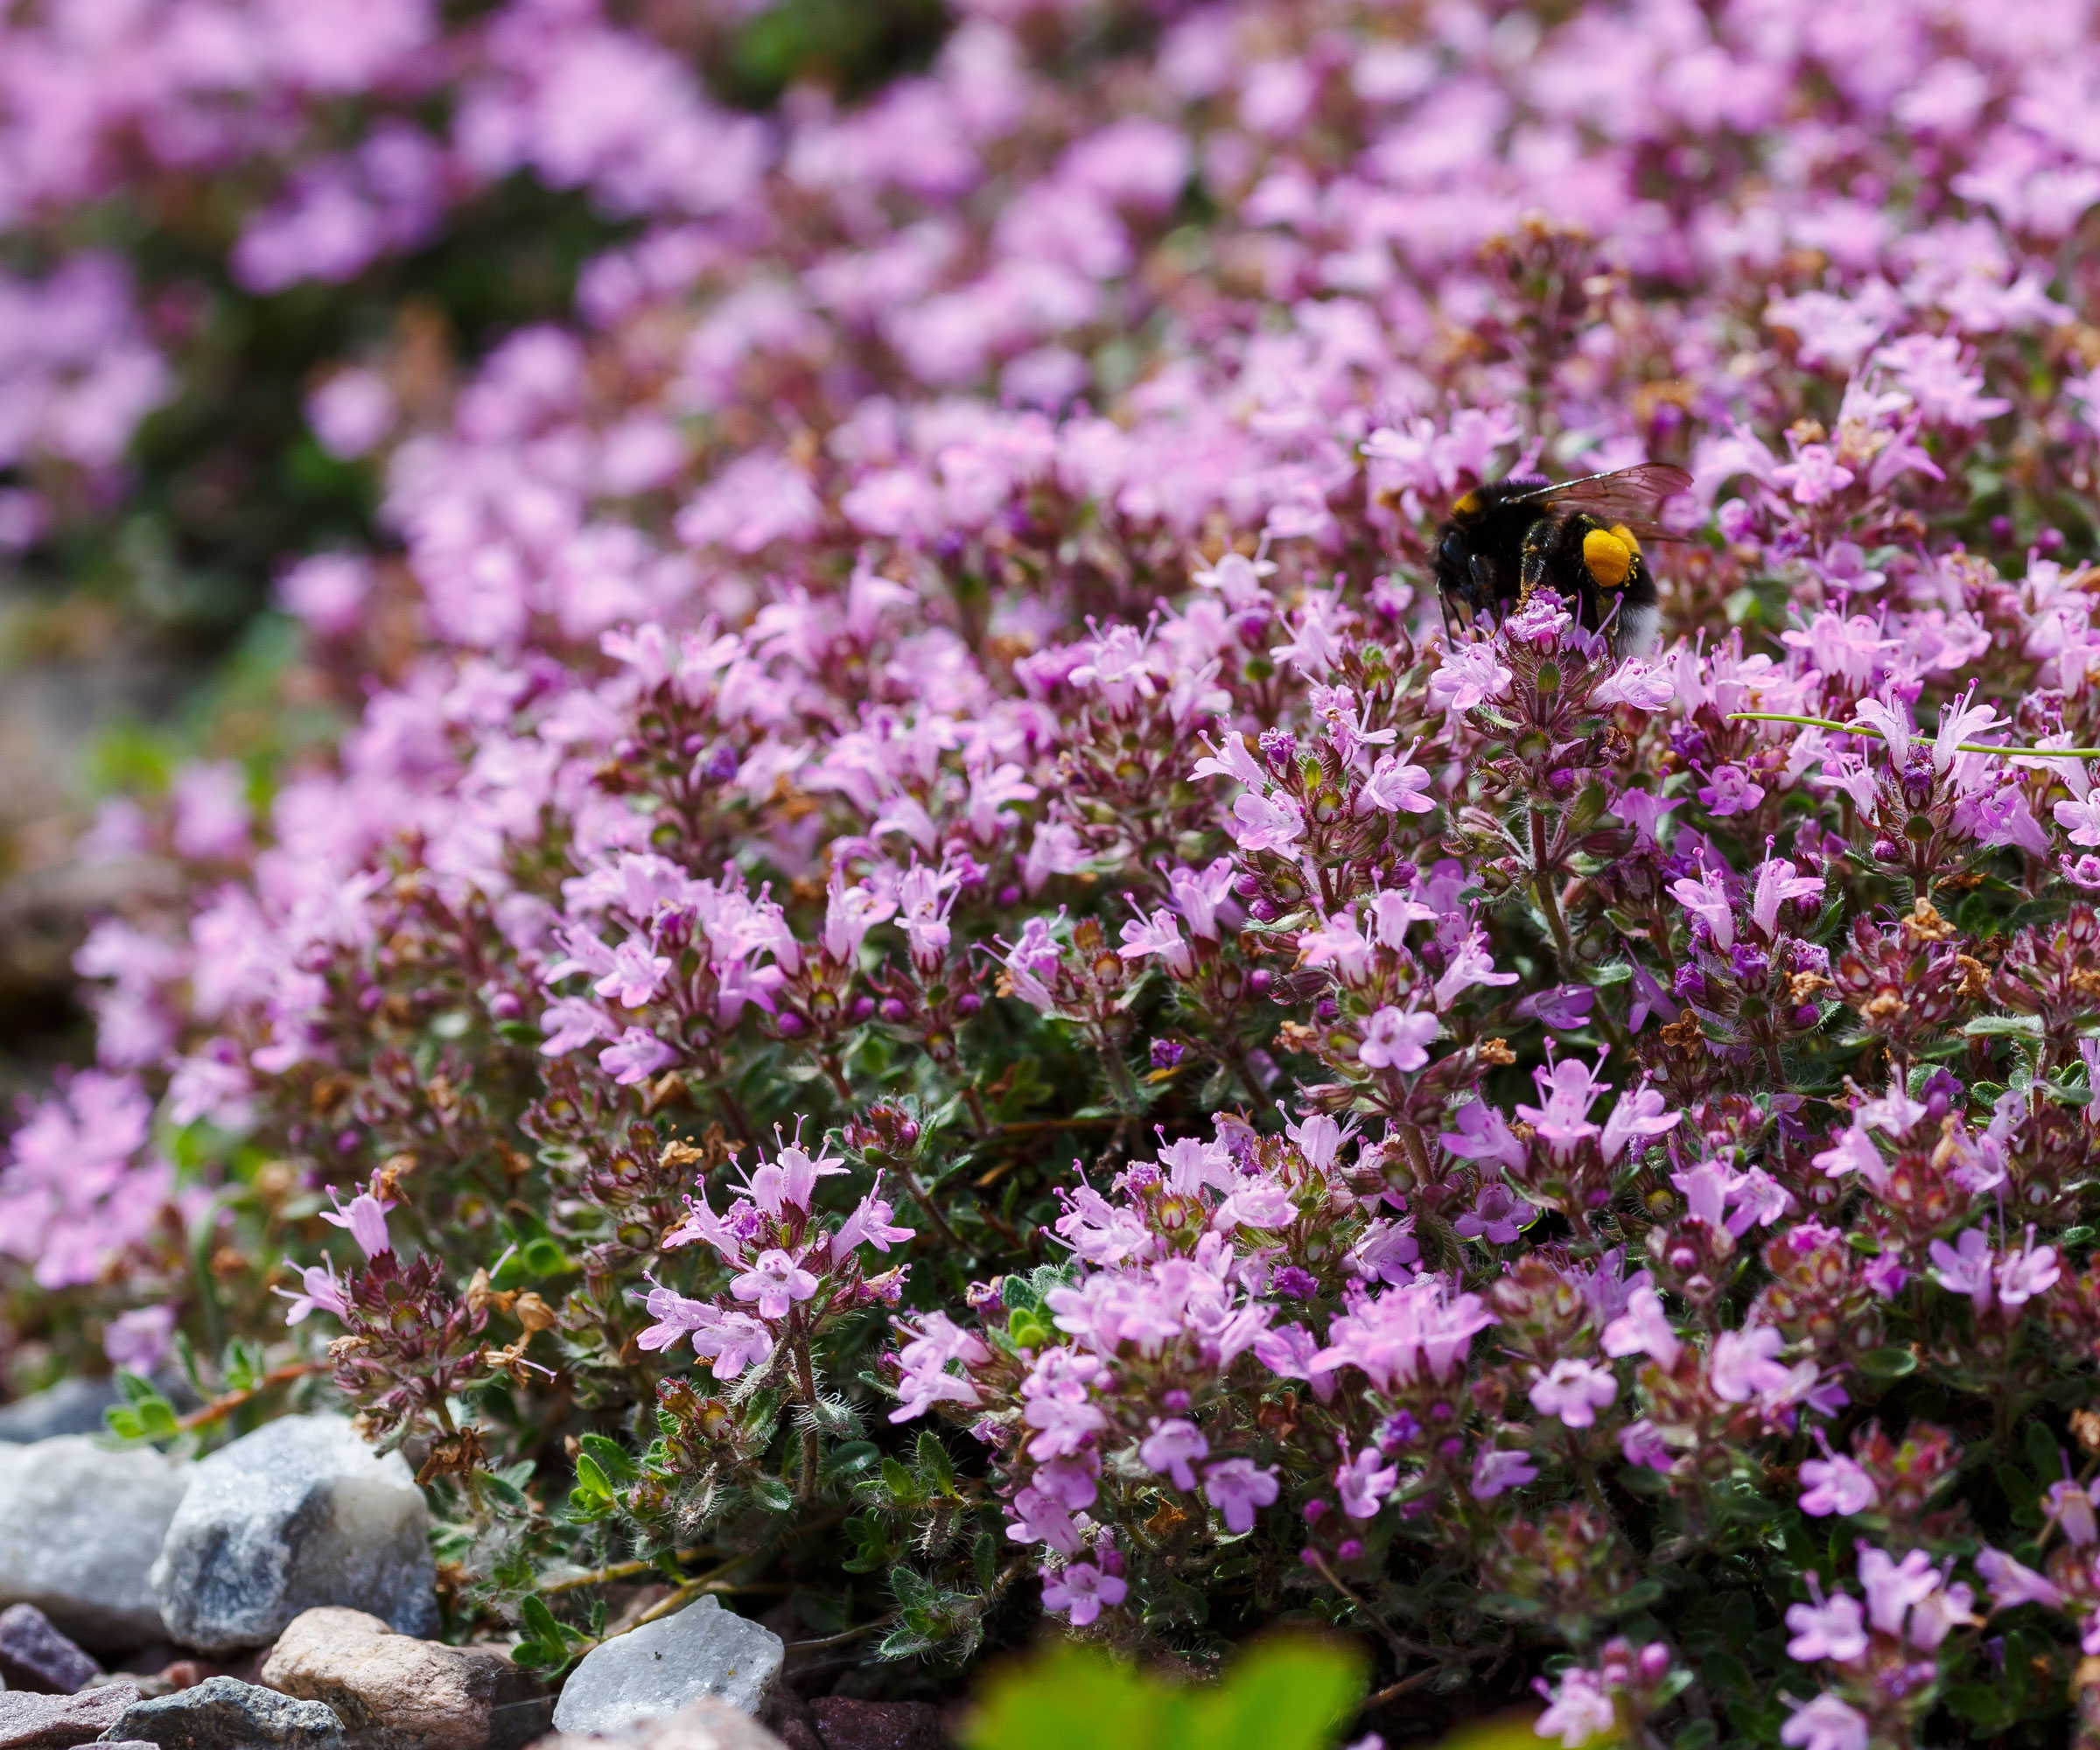
Once the weeds were dead, I invested in some effective long-term ground cover plants. They need to survive extreme temperatures yet cover the open areas and prevent weeds taking foot. I put pavers among the groundcovers, so I could get to my newly exposed dirt beds easily – but the groundcover needed to be heat tolerant and able to spread well.
My choices had to be stoic about heat, not only because of the ambient temperatures but because the rocks heat up in the sun. I planted some creeping thyme and ground-spreading sedum varieties. Try Creeping Thyme from Nature Hills for a fast-spreading aromatic and pretty flowering weed suppressant.
3. Add a Reliable Watering System
(Image credit: Vaakim / Shutterstock)
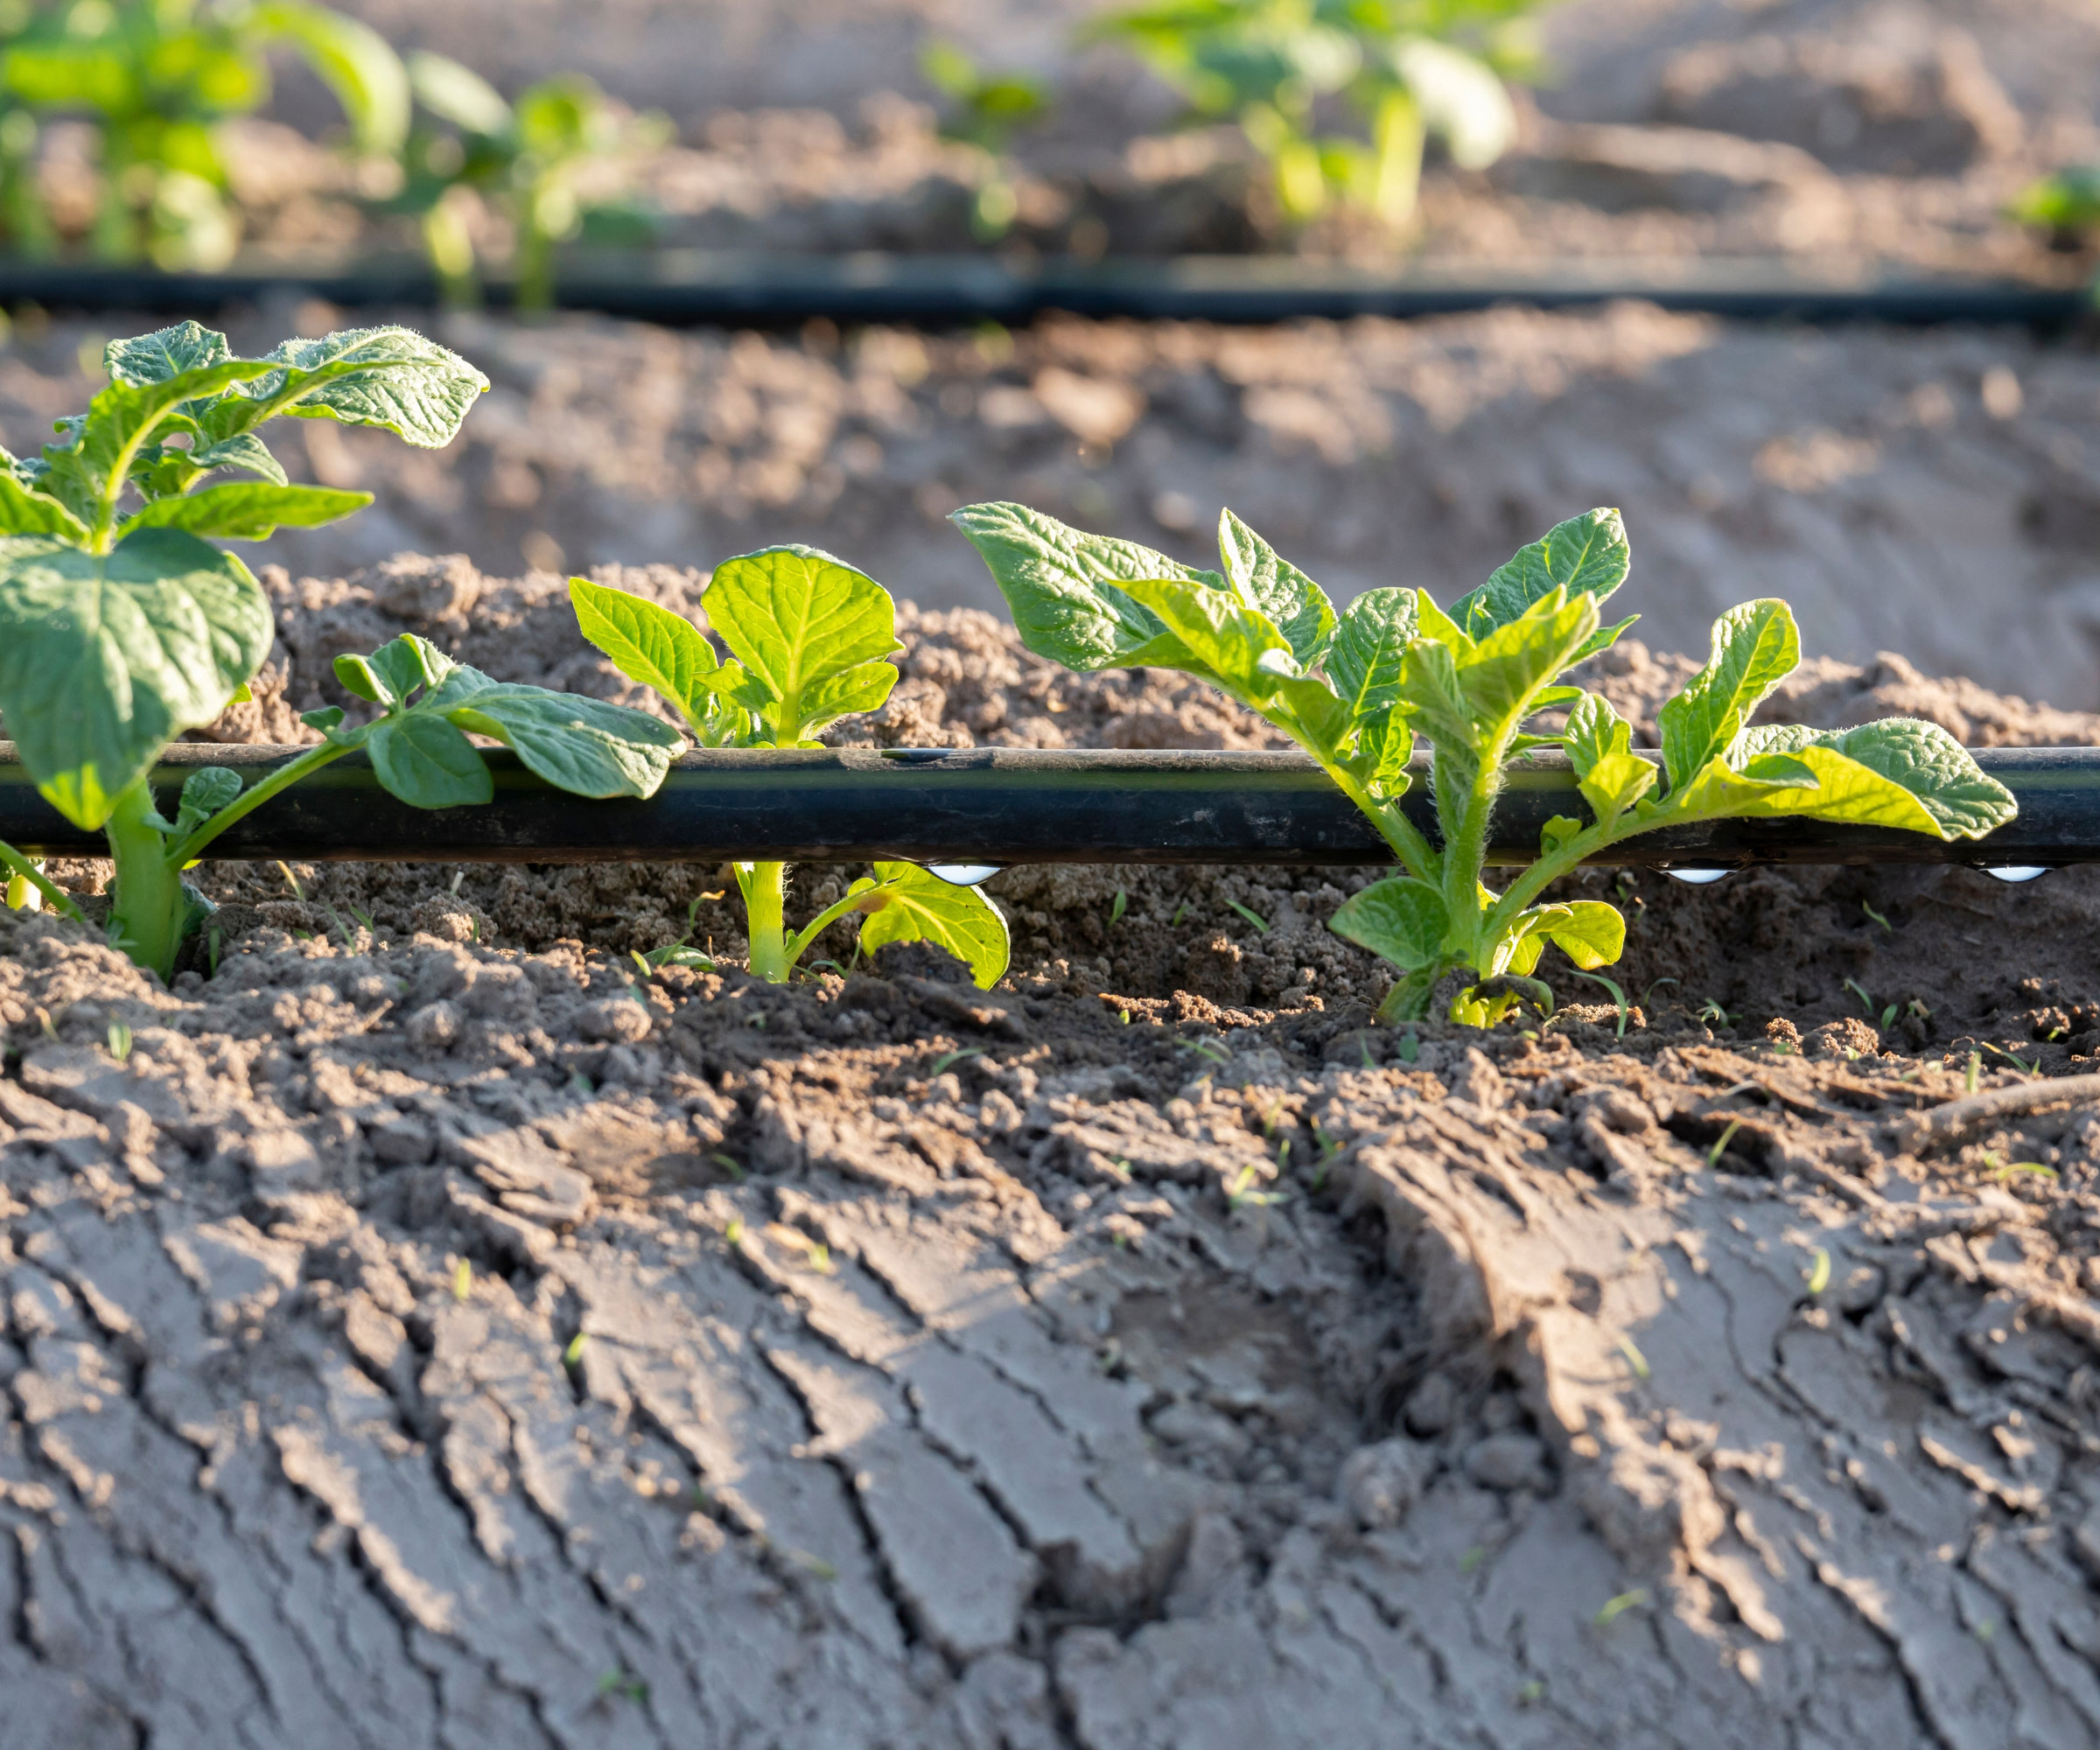
Then, I turned my attention to my newly made beds. I grow vegetables, but I like annuals too. The soil needed juicing up, so I incorporated plenty of compost. Seeds and starts went in, and I then set up drip lines to keep them watered. I didn’t want to make any mistakes with watering. I can’t overhead water in this region, due to the winds, so I am forced to use drip irrigation – or else the wind will catch the water, and the pavement is all that will get wet. There are some highly rated irrigation systems available at Amazon to help you set up regular hydration at ground level.
The heat from the rocks has actually helped my little plants take off in record time. I got a bumper crop of everything in the first year. So far, as I’ve been building the landscape, I have been using a sprinkler. This is not the most practical way to water, both because of the wind but also because it doesn’t target all the plants equally. So I am now going to be adding a timed drip system for regular deep watering. You can get a RainPoint Sprinkler Timer for a Digital Drip Irrigation System from Amazon for a controlled watering system that suits your garden’s needs.
4. Grow Shade Lovers and Vertical Options
(Image credit: Aleksandr Kondratov / Shutterstock)
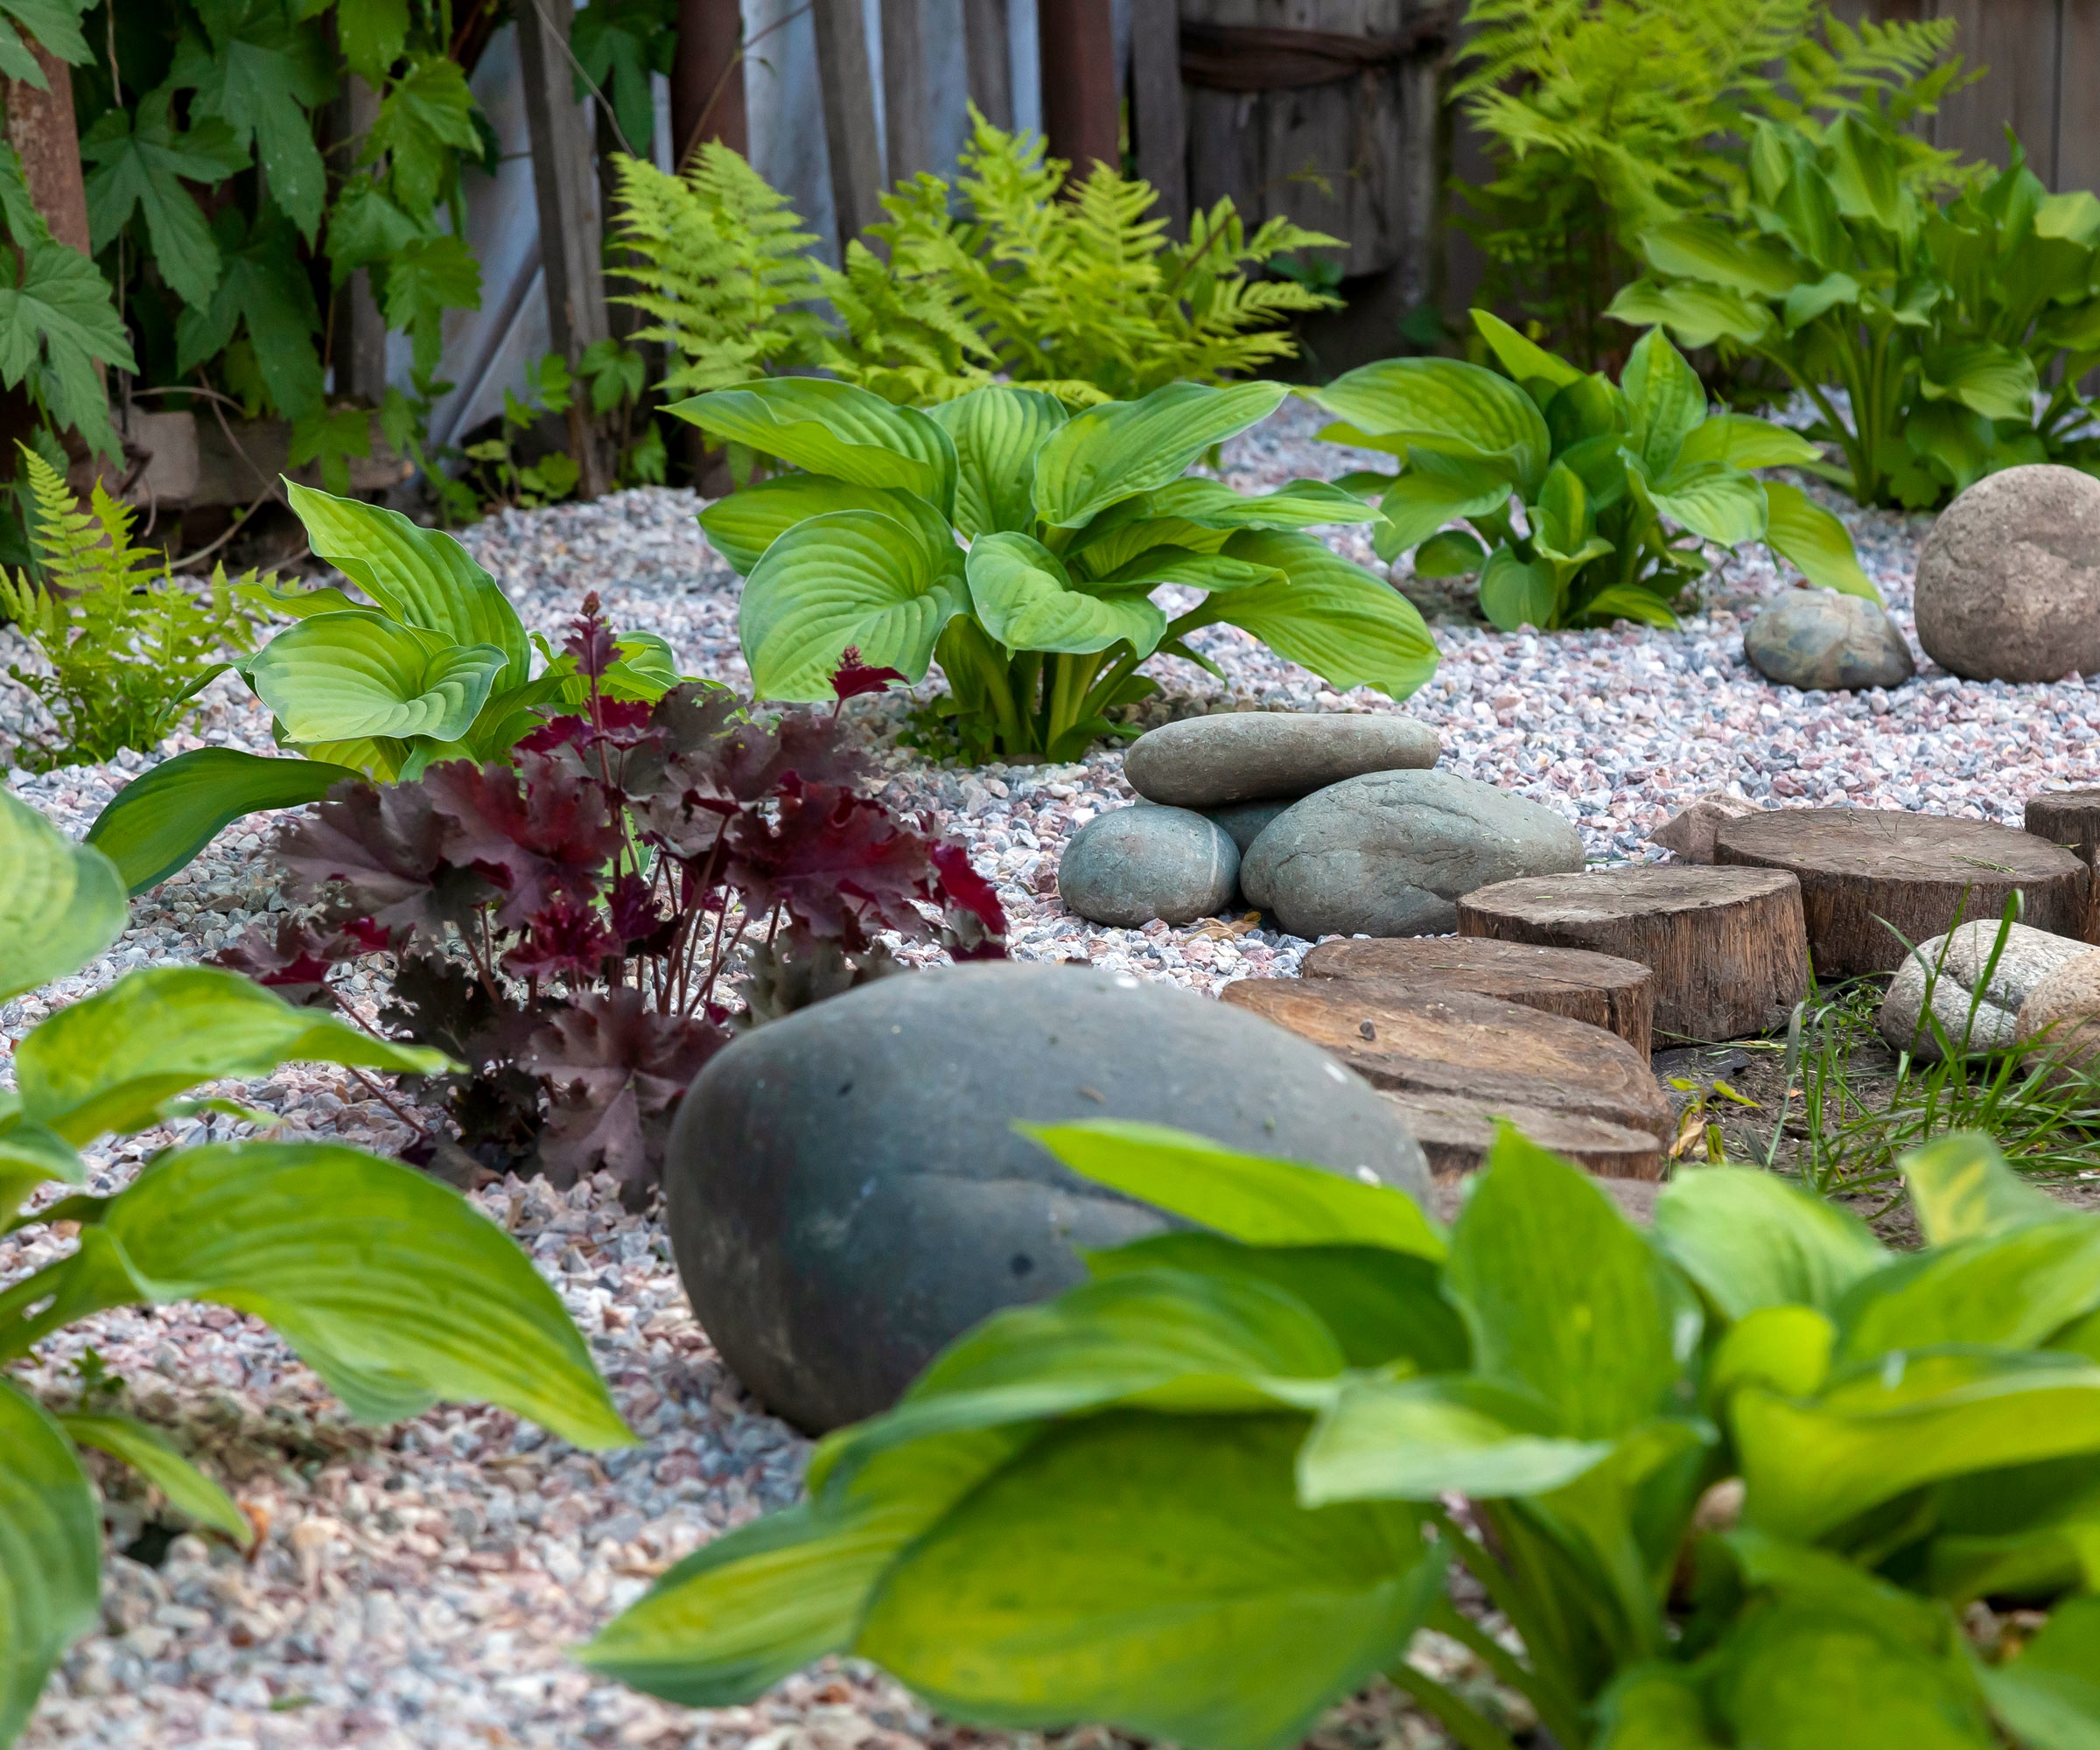
My next order of business was to integrate some longstanding ornamental plants. I had a shady area and wanted to indulge my passion for hostas. More rock had to be moved, but it was worth it – and it is possible to cultivate even big hostas once you have tended to your rocky soil. I carefully selected hosta that were hardy to one zone below mine. Along with hosta, I added some astilbe and shade-loving annuals in the growing season, as well as a stone pagoda. Lovely lush hostas like Hosta ‘Patriot’ from Nature Hills can thrive in USDA zones 3-8.
The front of the house is where I have concentrated my ornamental efforts. I wanted some dimension, so I am growing a poplar tree. My Mum gave me a volunteer green gage plum tree, which is also doing nicely. So dimension is mostly there, but I also wanted a vine. I pined for an evergreen clematis but they are not hardy here. Guess what is? Clematis, trumpet vine, and honeysuckle. I decided to get a beautiful red clematis vine in pruning class 3. You can get a lovely purple Group 3 Clematis Jackmanii from Burpee, along with several other clematis varieties.
Because of the rocks and due to the fact that I have several Asian cement garden sculptures, I decided to incorporate a Japanese garden into my space, with dwarf evergreens, a clumping bamboo, and a Japanese maple. For a splash of enduring color, you can buy a Brighter Blooms Japanese Maple ‘Bloodgood’ tree from Amazon. I have also added bulbs for added color. To plant the bigger stuff, I just excavated areas of soil as necessary, leaving some rock around the edges as accents. It’s very pretty looking – and with the right plant selections, it is possible to harmonize ornamentals and crops with naturally occurring rocks.
Working with the Rocks…
Other than staking trees against the wind, retying the clematis when the wind knocks it over, and other standard gardening tasks, I am now enjoying the ‘fun parts’ of my garden. The parts where you put on a sun hat and sit outside, not just looking at a mass of rocks and unforgiving ground – but now a lush, green landscape, full of life. The rocks have taught me they don’t have to be heavy, ugly, and lifeless. They are also something you can live with, if you think laterally.
If you think creatively, you can even repurpose part of your garden into a rockery using the larger hunks of stone – or deploy flatter slabs as stepping stones for a unique garden feature. You can add gravel to rockier areas to turn your natural disadvantage into the basis for a breakthrough. Rocks have taught me to look outside the box, get really dirty, and persevere with my gardening dreams. With a lot of work and planning, I now coexist (happily!) with my rocks. Hopefully, so can you.
Need more ideas for timely gardening jobs and seasonal expert advice delivered straight to your inbox? Sign up for the free Gardening Know How Newsletter!


