")
Table of Contents
Table of Contents
Introduction: Why Overwintering Matters
When temperatures begin to drop in October, your houseplants and tender container plants need protection. Moving them indoors at the right time — and the right way — helps prevent shock, pest infestations, and root rot.
In this guide, we’ll walk you through a simple step-by-step checklist to help your plants adjust smoothly and stay healthy until spring.
When temperatures begin to drop in October, your houseplants and tender container plants need protection. Moving them indoors at the right time — and in the right way — helps prevent shock, pest infestations, and root rot.
Overwintering Houseplants isn’t just about survival; it’s about giving them a seasonal reset so they can rest, conserve energy, and return stronger in spring. By following Overwintering Houseplants & Tender Containers — The Complete Move-In Checklist (Avoid Shock & Pests), you’ll avoid common pitfalls while discovering small but powerful tricks — like rotating pots weekly to balance light or using reflective surfaces to maximize natural brightness. Think of overwintering as both science and art: a process that protects your plants today while setting the stage for a thriving comeback tomorrow.
👉 For more expert advice, see The Old Farmer’s Almanac guide on overwintering plants
which covers geraniums, herbs, and tropicals.
1. Check the Forecast and Prepare Early
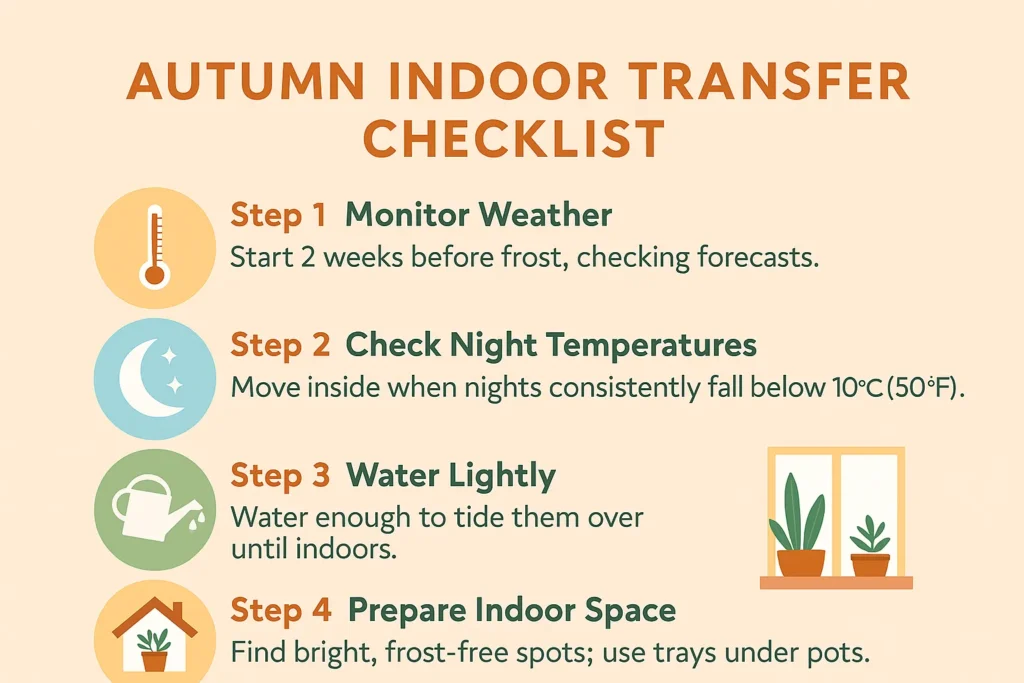
Don’t wait until the first frost. Begin your move-in process two weeks before the expected frost date in your area.
- Monitor night temperatures — when they dip below 10°C (50°F), start preparing.
- Water plants lightly a few days before moving.
- Clean and clear a bright indoor spot before plants arrive.
Pro Tip: If your plants have been outside under full sun, place them in shade for 3–4 days first to reduce shock.
One overlooked aspect of Overwintering Houseplants is the timing of your move. While frost warnings are the obvious signal, sudden cold snaps can arrive earlier than expected, catching even seasoned gardeners off guard. That’s why Overwintering Houseplants & Tender Containers — The Complete Move-In Checklist (Avoid Shock & Pests) emphasizes preparation as a gradual process rather than a rushed rescue mission. Think of it as a rehearsal for your plants — a chance to adjust slowly, reducing the drama of the final move indoors. This small twist in perspective can mean the difference between plants that limp through winter and those that emerge in spring with renewed vigor.
Another overlooked trick when overwintering houseplants is to stagger the move indoors. Instead of bringing all your plants in at once, start with the most sensitive species first, such as tropicals and succulents, and leave hardier varieties like geraniums or rosemary for later. This gradual approach keeps your indoor environment from being overwhelmed and helps you spot potential issues early. By pacing yourself, you’ll also notice which plants adapt quickly and which ones need extra attention — a small but powerful insight that can save you headaches later in the season.
👉 For additional preparation tips, explore Live to Plant’s guide to overwintering container plants.
2. Inspect Plants for Pests & Diseases
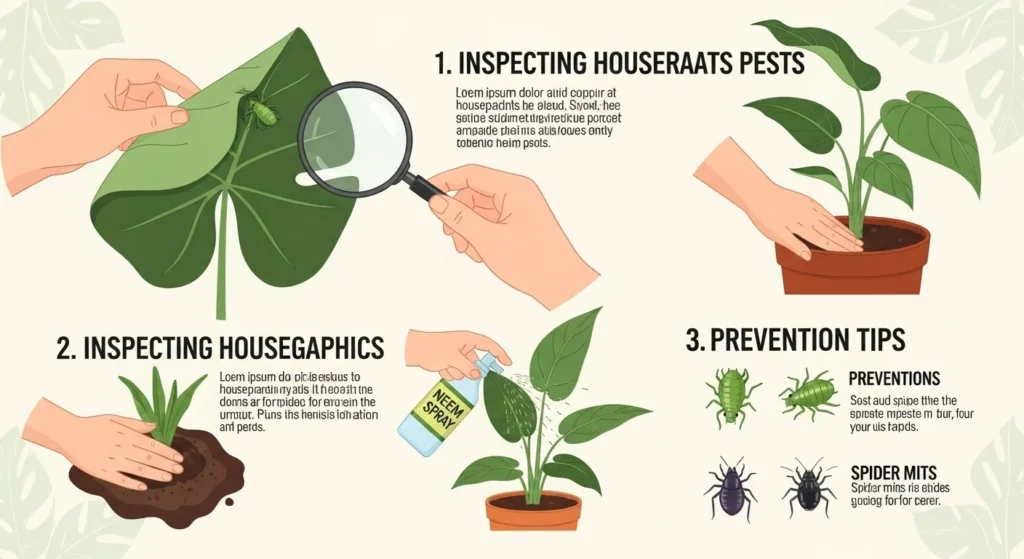
Before you bring anything indoors, inspect every leaf and stem. Tiny insects can multiply fast once inside.
How to Check Properly:
- Turn leaves over to look for spider mites, whiteflies, or aphids.
- Gently remove the top layer of soil to check for fungus gnats.
- Use a magnifying lens or phone camera zoom for clarity.
Natural Remedies:
- Wipe leaves with a solution of 1 tsp mild soap per liter of water.
- Use neem oil spray or insecticidal soap for heavy infestations.
- Rinse and let dry in indirect sunlight before bringing indoors.
Overwintering Houseplants often reveal hidden surprises — pests that seemed dormant outdoors can suddenly thrive in the warmth of your home. By following Overwintering Houseplants & Tender Containers — The Complete Move-In Checklist (Avoid Shock & Pests), you’ll learn to treat inspection as a detective’s game rather than a chore. For instance, tapping leaves gently over white paper can expose tiny insects you might otherwise miss. This investigative approach keeps the process engaging and ensures you’re not just moving plants indoors, but also safeguarding your entire indoor garden ecosystem from an invisible invasion.
👉 For more pest‑prevention strategies, see Homes & Gardens’ article on overwintering tender plants.
When overwintering houseplants, remember that pests often hide in the most unexpected places — like the undersides of pots or in the saucers beneath them. A quick rinse of containers and trays can prevent hidden colonies from hitching a ride indoors. For an extra layer of protection, consider sprinkling a thin layer of diatomaceous earth on the soil surface; it’s harmless to plants but discourages crawling insects. This step may feel tedious, but it’s the difference between a peaceful winter and a mid-season battle with infestations.
3. Trim, Clean, and Repot If Needed
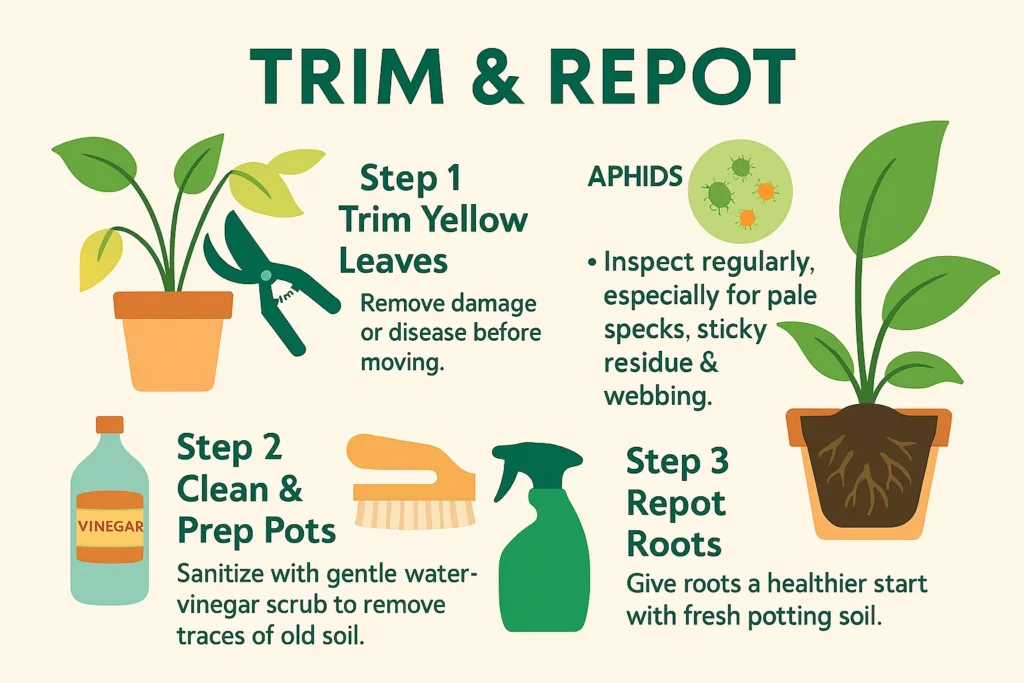
A little grooming helps reduce stress on the plant.
- Trim dead or yellow leaves to redirect energy.
- Remove old flowers or seed heads.
- If roots are visible through the drainage holes, repot into a container that is just 1–2 inches wider.
Clean the Containers Too
Wash pot surfaces to remove algae, salt stains, or mold.
- Mix 1 part vinegar with 9 parts water.
- Rinse and dry before bringing them indoors.
Overwintering Houseplants benefit immensely from this grooming stage, as it reduces the energy burden on roots and helps plants focus on survival. In Overwintering Houseplants & Tender Containers — The Complete Move-In Checklist (Avoid Shock & Pests), this step is highlighted as a way to “reset” your plants before their indoor stay. Think of it as giving them a spa day — a fresh haircut, a clean outfit, and a comfortable new home if needed. The twist here is that plants often respond with a flush of healthy new growth even in winter, surprising you with resilience when you least expect it.
👉 To refresh soil health, try our container cover crops guide for small spaces.
Overwintering houseplants is also the perfect opportunity to refresh tired soil. If you notice compacted or depleted potting mix, replace the top two inches with fresh, nutrient-rich soil. This small adjustment boosts root health during the low-light months when growth slows. For larger plants, consider root pruning instead of upsizing the pot — it keeps them manageable indoors while still encouraging healthy regrowth in spring. Think of it as giving your plants a spa treatment before their long indoor stay.
4. Quarantine Plants Before Joining Others
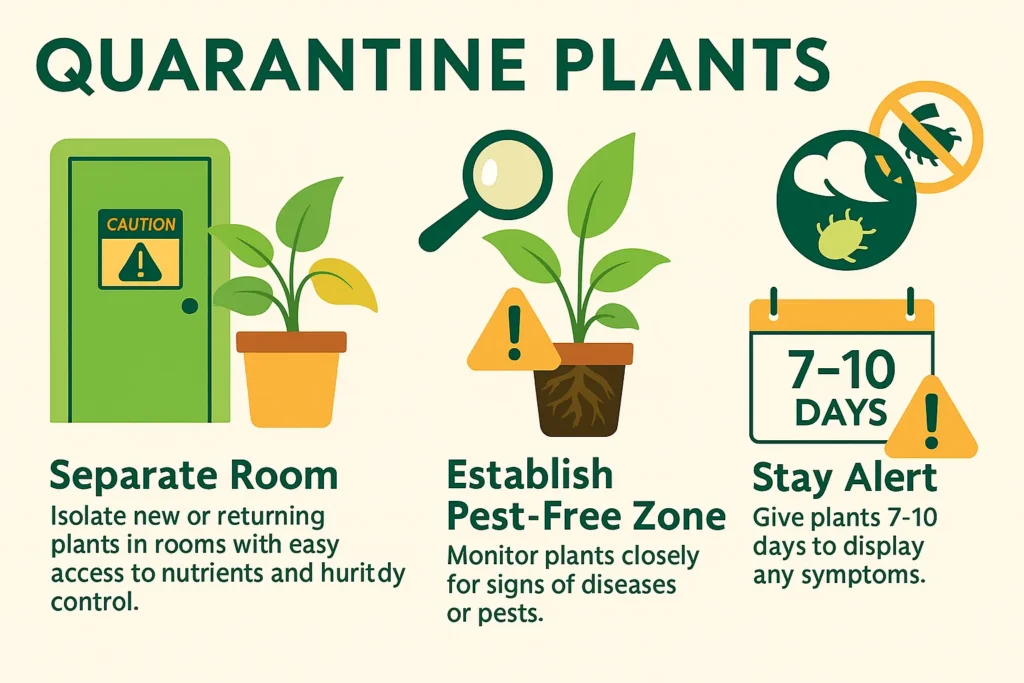
Even if they look healthy, keep new arrivals in a separate room for 7–10 days.
- Observe for any late pest outbreaks or wilting.
- Avoid placing them near air vents or heaters.
- Mist occasionally to maintain humidity.
Overwintering Houseplants requires patience, and quarantine is the gardener’s version of a safety net. Even the healthiest-looking plants can harbor pests that only reveal themselves after a week indoors. That’s why Overwintering Houseplants & Tender Containers — The Complete Move-In Checklist (Avoid Shock & Pests) insists on this step — it’s not paranoia, it’s prevention. The twist is that this period also gives you a chance to observe your plants more closely, noticing subtle changes in leaf color or growth habits that might otherwise go unnoticed in a crowded display.
Even seasoned gardeners sometimes skip this step, but quarantine is one of the most critical parts of overwintering houseplants. A single unnoticed pest can spread quickly once plants are grouped. Use this isolation period as a chance to observe your plants’ behavior — are they dropping leaves, stretching toward light, or showing signs of stress? These early signals can guide you in adjusting care before they join your main collection. It’s a little like a rehearsal before the big move-in.
👉 For more seasonal plant care inspiration, explore our plants to plant in winter guide.
5. Adjust Light, Humidity & Watering Indoors
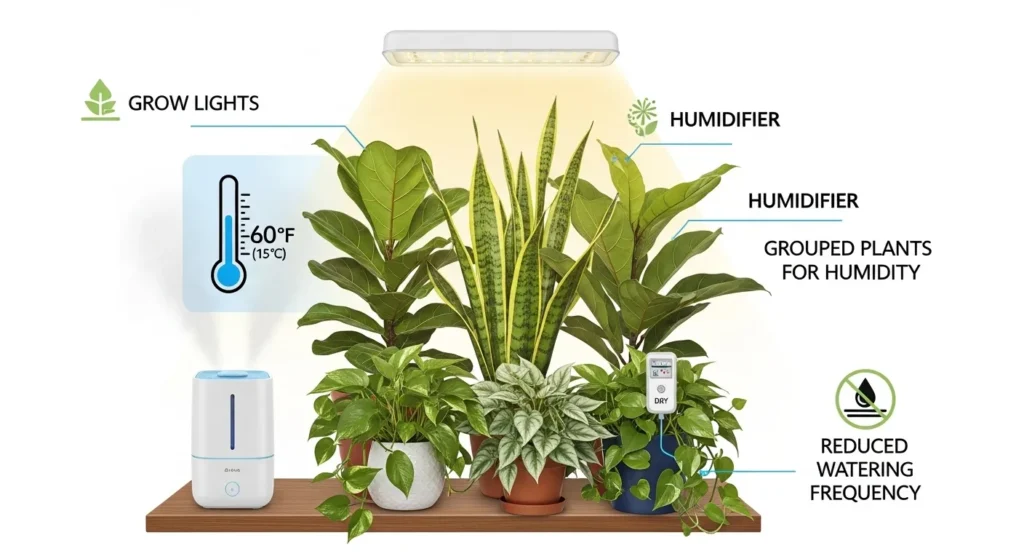
Plants experience a mini “winter pause.” To help them adapt:
- Light: Move near a south-facing window or use grow lights (12–14 hours daily).
- Humidity: Group plants together or use a humidifier; indoor air is dry in winter.
- Watering: Water less frequently. Check the soil 2 inches deep before each watering.
Tip: Yellow leaves after moving indoors are common — they’ll recover within two weeks.
Overwintering Houseplants thrive when you treat their indoor environment as a carefully balanced ecosystem. Overwintering Houseplants & Tender Containers — The Complete Move-In Checklist (Avoid Shock & Pests) reminds us that light, humidity, and water are interconnected — neglect one, and the others quickly fall out of balance. A clever twist is to use trays filled with pebbles and water beneath pots, which naturally increase humidity without risking soggy roots. This small hack not only keeps leaves lush but also adds a decorative element to your indoor plant corner, making the process both practical and visually rewarding.
👉 For design-focused ideas, see our romantic garden inspiration that blends plants with style.
When overwintering houseplants, it’s important to remember that each species has its own rhythm. Some, like citrus or hibiscus, may continue blooming indoors if given enough light, while others, like succulents, prefer a true dormancy with minimal water. Don’t be alarmed if growth slows dramatically — this is nature’s way of conserving energy. A twist many gardeners enjoy is experimenting with grow lights: not only do they keep plants thriving, but they can also extend the blooming season of favorites like orchids or begonias, adding unexpected winter color to your home.
6. Label & Track Care Easily
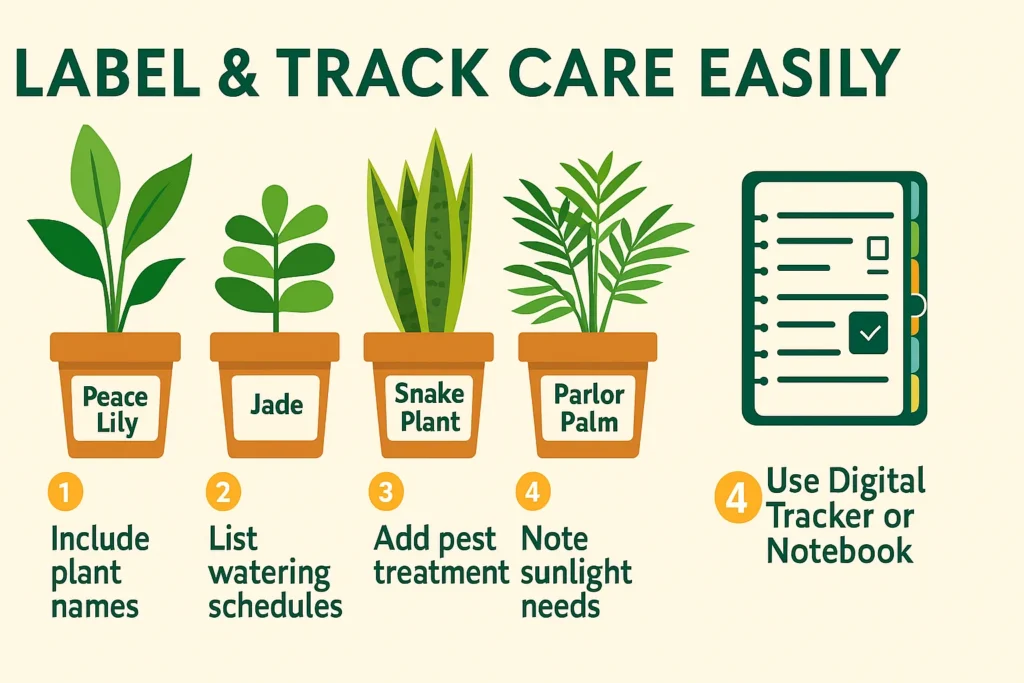
If you’re overwintering multiple species, label each pot with:
- Plant name
- Last pest treatment
- Watering schedule
- Sunlight needs
Use small plastic markers or masking tape for easy tracking.
Overwintering Houseplants becomes far less overwhelming when you treat plant care like a well-organized project. With Overwintering Houseplants & Tender Containers — The Complete Move-In Checklist (Avoid Shock & Pests), labeling is more than just a reminder — it’s a way to build a living database of your plants’ needs. The twist? Over time, you’ll start to notice patterns, like which species demand more water or which ones bounce back fastest in spring. This transforms your plant collection into a personal case study, deepening your connection with each plant while sharpening your gardening instincts.
👉 To add beauty alongside organization, check out our unique yellow flowers guide.
Overwintering houseplants becomes far less overwhelming when you treat it like a system rather than a guessing game. Some gardeners even keep a simple notebook or digital tracker to log watering dates, pest checks, and light adjustments. Over time, these notes reveal fascinating patterns — you may notice that certain plants always struggle in January but bounce back in February, or that one species consistently needs more humidity than the rest. This record-keeping transforms overwintering from a chore into a learning experience, sharpening your skills season after season.
7. Prepare for Spring Reacclimation
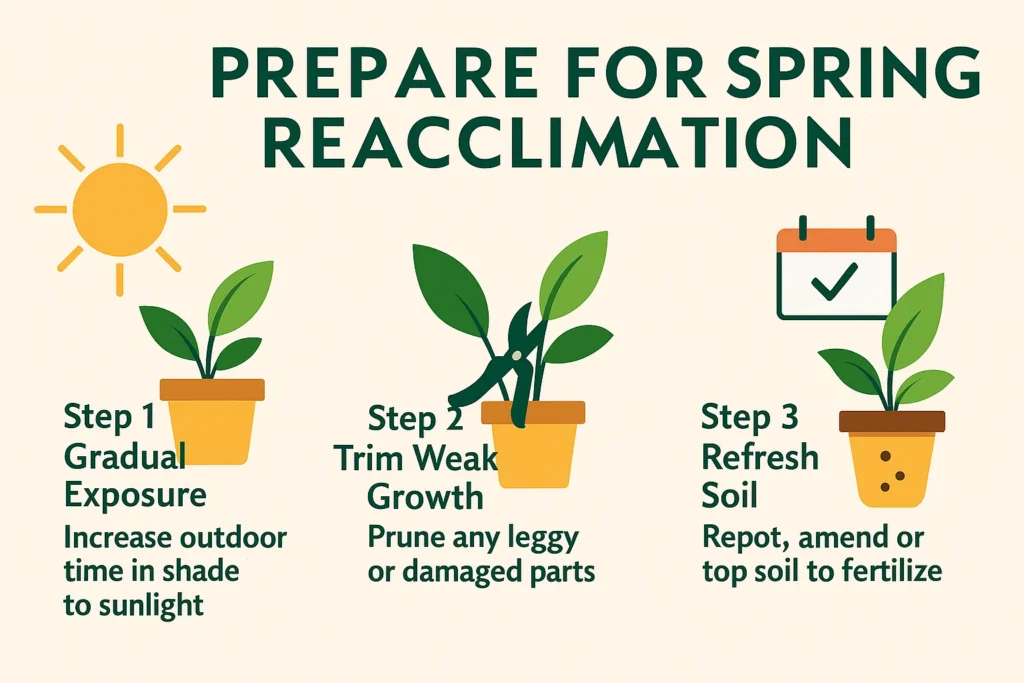
When spring returns, reverse the process:
- Place plants outdoors in partial shade for 3–5 days, then gradually increase sunlight.
- Trim back any weak growth.
- Refresh potting soil before permanent outdoor placement.
Overwintering Houseplants is a cycle that comes full circle with spring reacclimation. Overwintering Houseplants & Tender Containers — The Complete Move-In Checklist (Avoid Shock & Pests) frames this stage as a celebration — the reward for months of careful attention. The twist is that spring doesn’t just restore your plants; it also restores your role as a gardener, reminding you of the patience and care you invested during the colder months. By easing plants back outdoors gradually, you’re not only protecting them but also setting the stage for a season of vibrant growth that feels all the more satisfying because of the journey you shared.
The real magic of overwintering houseplants is revealed in spring. Plants that have been carefully transitioned indoors and back out again often show stronger growth and resilience compared to those left to chance. To keep curiosity alive, try experimenting with one or two plants each year — perhaps training a fuchsia into a small tree form or testing whether a tender herb like basil can be overwintered successfully. These small experiments not only expand your gardening knowledge but also keep the process exciting, turning overwintering into an annual adventure rather than a routine task.
👉 For more seasonal transitions, explore our cold frame gardening guide to bridge winter into spring.
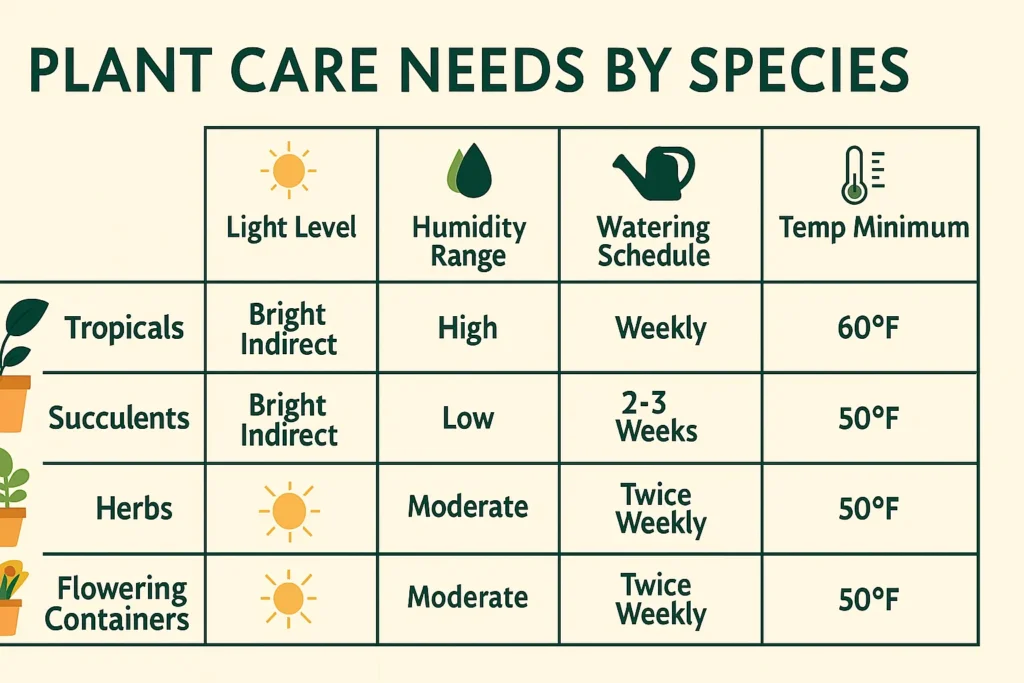
8. Species Quick‑Reference Table
| Plant Type | Light Needs | Humidity Range | Temperature Minimum | Watering Cadence | Notes |
|---|---|---|---|---|---|
| Tropicals (e.g., Monstera, Citrus) | Bright indirect or grow light (12–14 hrs) | 60%+ | 15 °C | When top 2–3 cm dry | Mist or group for humidity; may continue blooming indoors |
| Succulents & Cacti | Bright direct light, south window | 30–40% | 10–12 °C | Monthly or less | Keep soil dry; avoid humidity trays |
| Tender Herbs (e.g., Basil, Mint) | Bright direct if possible | 40–50% | 12–15 °C | Weekly, adjust per soil | Light feeding mid‑winter; prune regularly |
| Flowering Containers (e.g., Hibiscus, Fuchsia) | Bright indirect + supplemental light | 50–60% | 15 °C | Every 7–10 days | Light pruning; refresh soil in spring |
9. Winter Issues Quick‑Fix Table
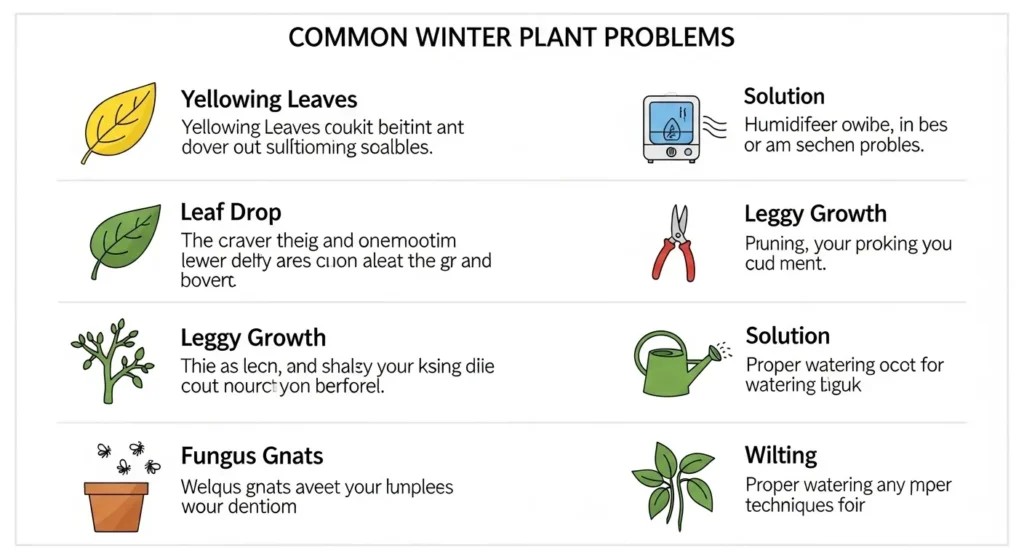
| Symptom | Likely Cause | Quick Fix |
|---|---|---|
| Leaf Drop | Light shock or drafts | Move closer to a bright window, rotate weekly, and avoid vents |
| Yellowing Leaves | Overwatering or low light | Extend dry‑down intervals; add a grow light |
| Leggy Growth | Insufficient light | Prune lightly; increase light intensity/duration |
| Fungus Gnats | Damp soil | Stabilize humidity; avoid fertilizing for 2–3 weeks; keep soil evenly moist |
| Wilting After Move | Transplant stress | Stabilize humidity; avoid fertilizing 2–3 weeks; keep soil evenly moist |
Printable Move-In Checklist (Optional PDF Lead Magnet)
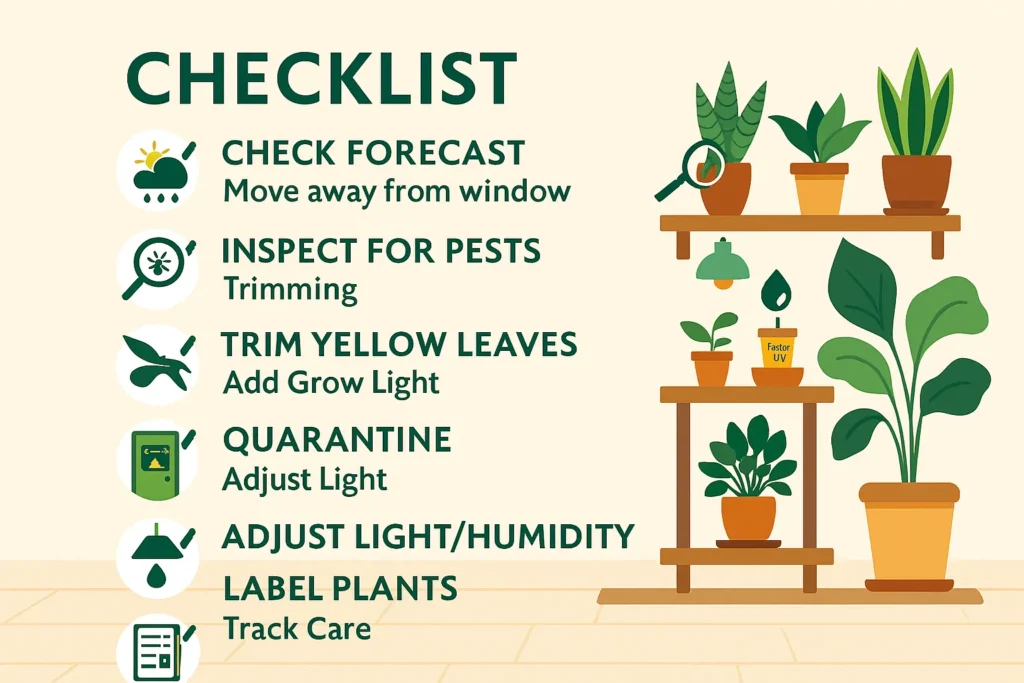
✅ Check weather forecast (2 weeks before frost)
✅ Inspect all leaves and soil for pests
✅ Treat with neem or soap spray
✅ Trim and clean foliage
✅ Repot if needed
✅ Clean pot surfaces
✅ Quarantine 7–10 days indoors
✅ Adjust light, humidity, watering
✅ Label & track each plant
Overwintering Houseplants becomes even easier when you have a tangible checklist at hand. By using Overwintering Houseplants & Tender Containers — The Complete Move-In Checklist (Avoid Shock & Pests) as a printable guide, you create a tool that’s both practical and shareable. The twist here is that many gardeners find joy in customizing their checklist — adding notes, seasonal reminders, or even photos of their plants’ progress. This transforms a simple PDF into a living journal of your overwintering journey, one that grows richer with each passing year.
Final Thoughts on Overwintering Houseplants
Overwintering houseplants may seem like a seasonal chore, but it’s really an investment in your garden’s future. Each step — from pest checks to light adjustments — builds resilience in your plants and deepens your own understanding as a gardener. By treating this process as a cycle rather than a one-time task, you’ll notice patterns, refine your methods, and enjoy healthier, more vibrant plants year after year.
The beauty of overwintering houseplants lies in its mix of science and surprise. While the checklist keeps you grounded, there’s always a twist: a dormant plant that suddenly blooms indoors, or a struggling container that revives with unexpected vigor. These small victories remind us that gardening is as much about curiosity and patience as it is about technique. With each winter, you’re not just protecting plants — you’re cultivating a rhythm of care that makes spring all the more rewarding.
👉 To embrace seasonal trends, discover why faded petal pink is set to dominate gardens in the coming years.
❓ Frequently Asked Questions About Overwintering Houseplants & Tender Containers
Q1. When should I start bringing my houseplants in for winter?
Begin preparing to move your plants indoors about two weeks before the first expected frost in your area. For most climates, this means when night temperatures consistently dip below 10 °C (50 °F). Early preparation is key to successful Overwintering Houseplants and protecting Tender Containers from sudden cold snaps.
Q2. Can all houseplants be overwintered indoors?
Most tropicals, succulents, herbs, and flowering tender containers can be overwintered successfully, but each has different needs. For example, succulents prefer a cooler, drier dormancy, while tropicals require higher humidity and steady warmth. Always check species‑specific requirements before moving them inside.
Q3. How do I prevent pests when overwintering houseplants?
Inspect every leaf, stem, and even the soil surface before bringing plants indoors. Rinse pots, treat with neem oil or insecticidal soap if needed, and quarantine new arrivals for 7–10 days. This step is essential to keep your Overwintering Houseplants & Tender Containers pest‑free all winter.
Q4. Why are my overwintered plants dropping leaves indoors?
Leaf drop is common when plants adjust to lower light and drier indoor air. It doesn’t always mean your plant is dying. Place them near bright windows, rotate weekly, and increase humidity. With proper care, most overwintering houseplants will stabilize within a couple of weeks.
Q5. How often should I water overwintered houseplants?
Watering frequency depends on plant type and indoor conditions. As a rule, water less in winter — check the soil about 2 inches deep before watering. Succulents may only need monthly watering, while tropicals and tender containers may need weekly attention. Always adjust based on soil dryness, not the calendar.
Q6. Do I need grow lights for overwintering houseplants?
Not always, but grow lights are highly beneficial if you lack bright south‑facing windows. They help prevent leggy growth and can even extend the blooming season of orchids, hibiscus, or other tender containers. Aim for 12–14 hours of supplemental light daily.
Q7. How do I reintroduce overwintered plants outdoors in spring?
Gradually acclimate them: start with 3–5 days in partial shade, then increase sun exposure over a week or two. Refresh potting soil and trim weak growth before placing them outdoors permanently. This step ensures your overwintering houseplants transition smoothly back to outdoor life.
")
")
")

3 Comments on “Overwintering Houseplants & Tender Containers — The Complete Move-In Checklist (Avoid Shock & Pests)”